Clawdbot Is Everywhere: A Step-by-Step Guide to Your Private AI Assistant
1/27/2026
Clawdbot has gone viral in the AI community.
Twitter, Reddit, and tech forums are full of it. Some even say it is “what Siri should have been.” I spent two days testing it deeply. Here is the full breakdown.

1. What is Clawdbot?
Simply: Clawdbot is an open-source, self-hosted AI assistant.
Built by Peter Steinberger (PSPDFKit), its core idea is: put AI inside the chat apps you already use.
Unlike ChatGPT or Claude that require a browser, Clawdbot integrates directly into:
- Telegram
- iMessage
- Discord
- Slack
- even SMS
That means you can @ the bot in Discord, or manage your schedule in Telegram. AI becomes a real assistant inside your daily tools.
2. Official links
3. What can it do?
This is the impressive part. Clawdbot is not just a chat bot. It is a full AI automation platform:
Everyday assistant
- Email management: read, categorize, summarize, draft replies
- Calendar: reminders, scheduling, conflict resolution
- Tasks: integration with Notion, Todoist, etc.
Developer features
- code review and generation
- technical docs lookup
- bug analysis and fix suggestions
Multi-model support
- Claude (Anthropic)
- GPT-4 (OpenAI)
- GLM (Zhipu)
- local models (Ollama)
Most important: it runs 24/7 on your own machine. Your data stays private.
4. Hands-on: Discord integration
This is the hard part. I hit many pitfalls before getting it working. Here is the full flow so you can avoid them.
4.1 Architecture overview
Discord server
   ↓ (Gateway WebSocket events)
Discord Bot Token
   ↓
Clawdbot Discord Provider
   ↓
Clawdbot Gateway (local ws/http)
   ↓
Model (glm / claude / openai)
If any layer breaks, you will see logs but no response in Discord.
4.2 Correct order matters
Wrong order = guaranteed pain.
- Install Clawdbot
- Run onboard setup
- Create Discord Application
- Create Bot and get Token
- Enable required Gateway Intents (big pitfall)
- Use OAuth2 URL Generator to invite the bot into your server
- Configure Discord channel in Clawdbot
- Start Gateway
- Test with @bot in Discord
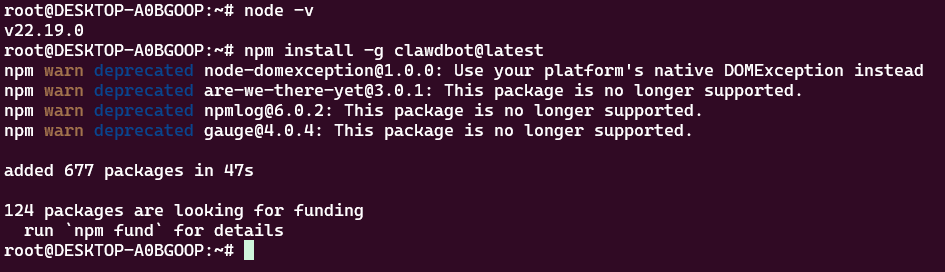
4.3 Step 1: Install Clawdbot
npm install -g clawdbot@latest
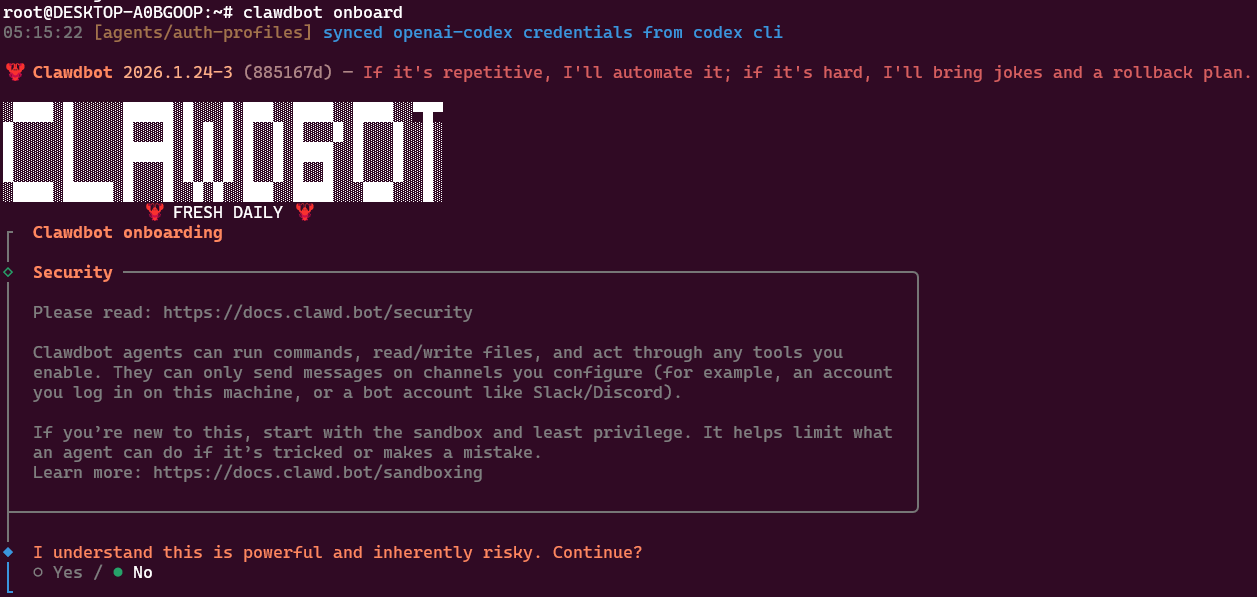
4.4 Step 2: Run onboard
clawdbot onboard
This starts the setup wizard.
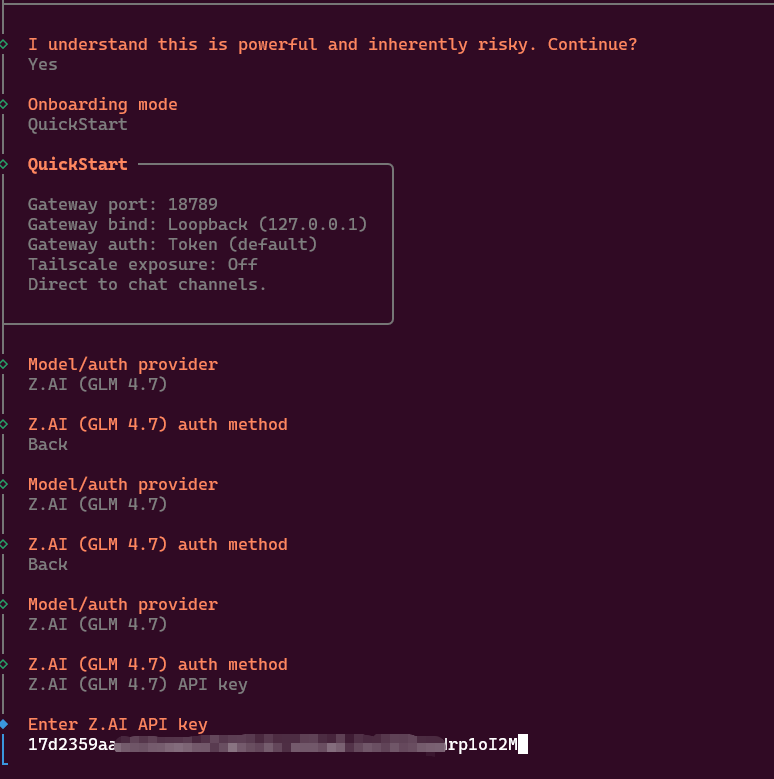
Choose Gateway port and model provider:
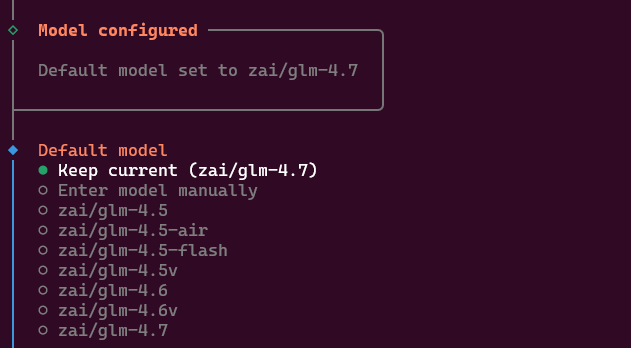
Pick default model (I used GLM-4.7):
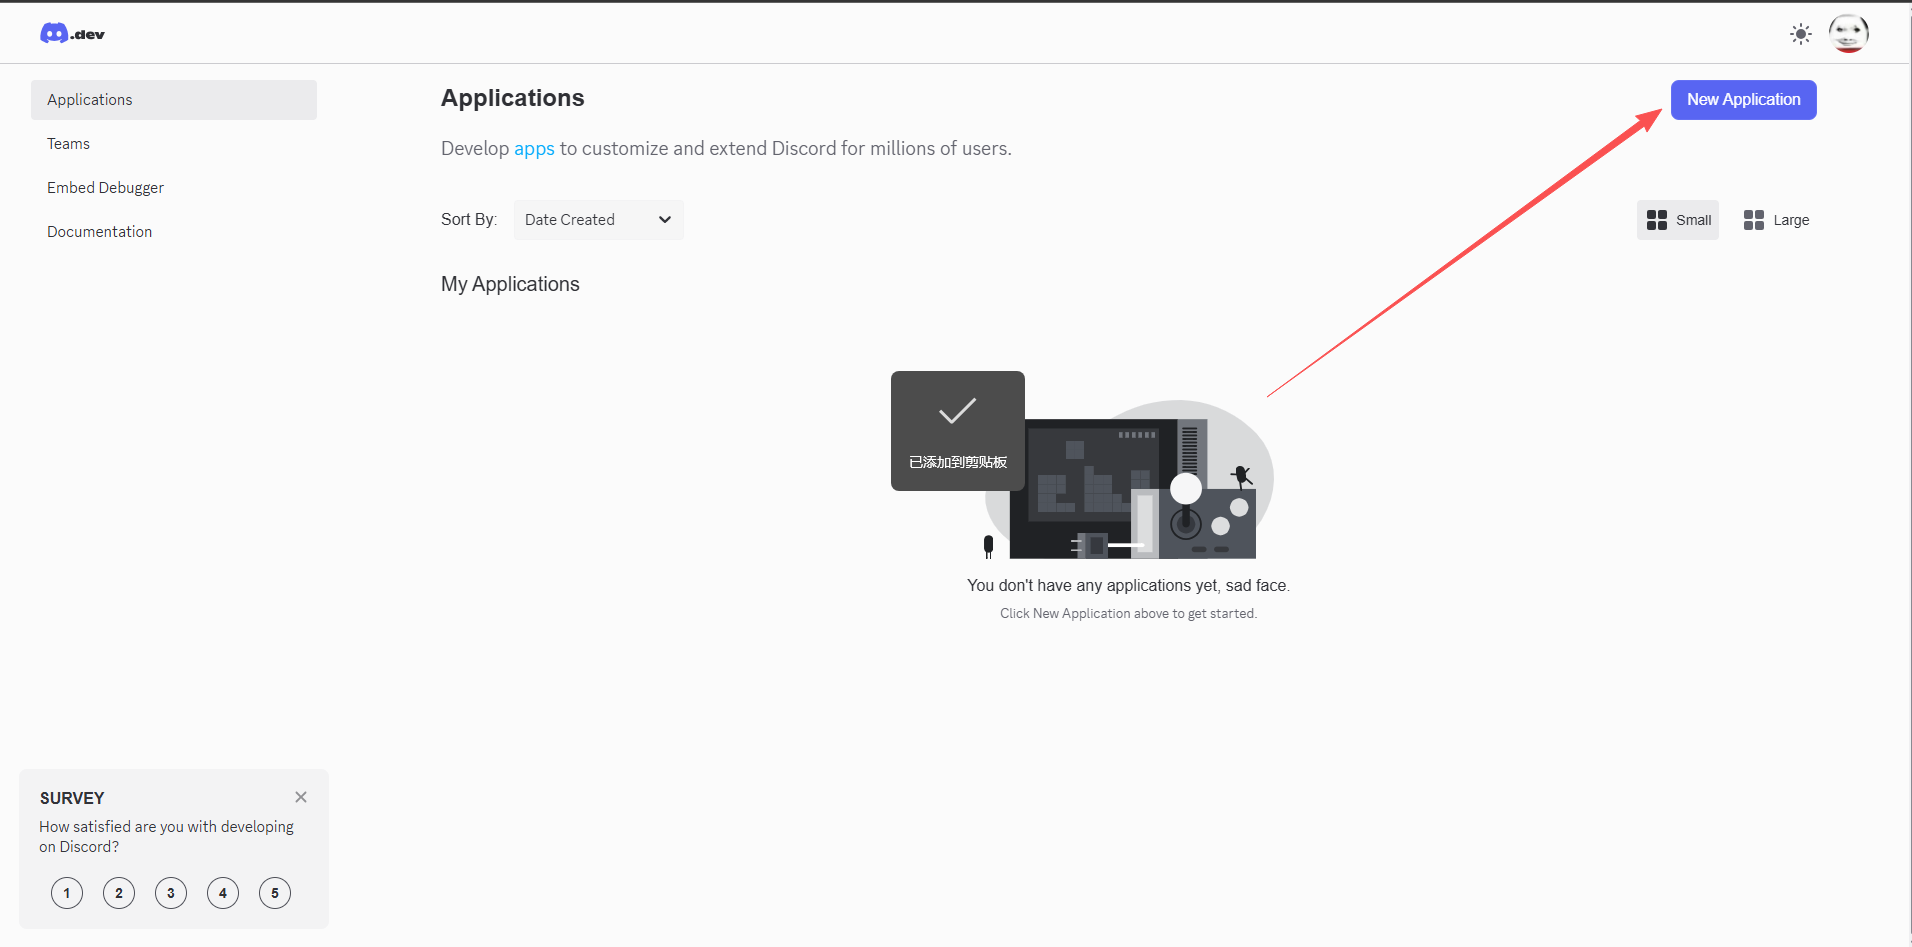
4.5 Step 3: Create a Discord Application
Go to the Developer Portal: https://discord.com/developers/applications
Click New Application:
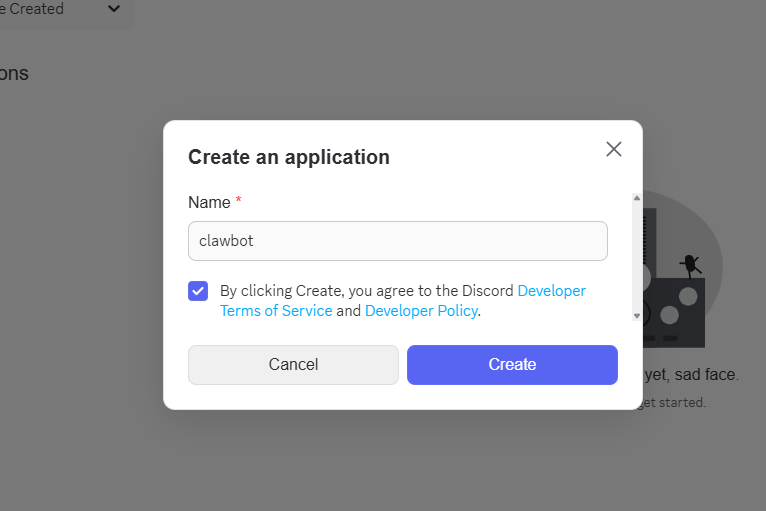
Enter a name (e.g. clawbot), accept terms, and create:
4.6 Step 4: Create the bot and get token
Go to Bot in the sidebar.
Click Reset Token and copy it.
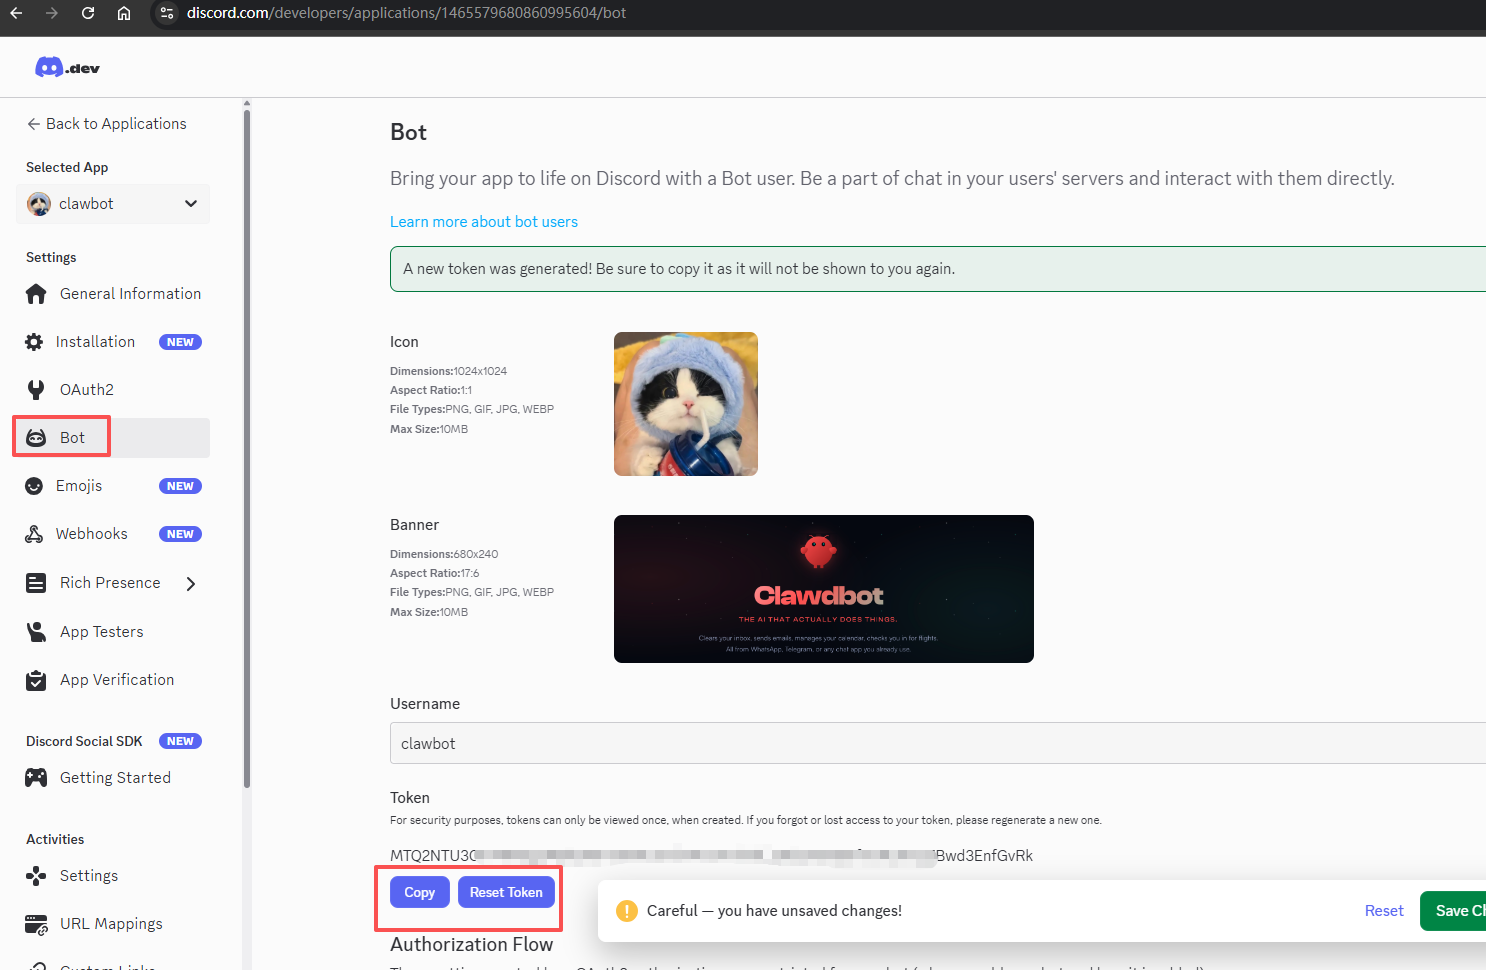
Warnings:
- Public Key is not the Bot Token
- OAuth2 Client Secret is not the Bot Token
- Clawdbot only accepts the Bot Token
- Token shows once. Save it.
4.7 Step 5: Enable Privileged Gateway Intents (fatal pitfall)
Scroll to Privileged Gateway Intents.
Must enable:
- Message Content Intent
If you do not enable it:
- Bot logs in successfully
- But it receives no messages
- Logs show
logged in to discord, and the bot stays silent
4.8 Step 6: Invite the bot to your server (most common pitfall)
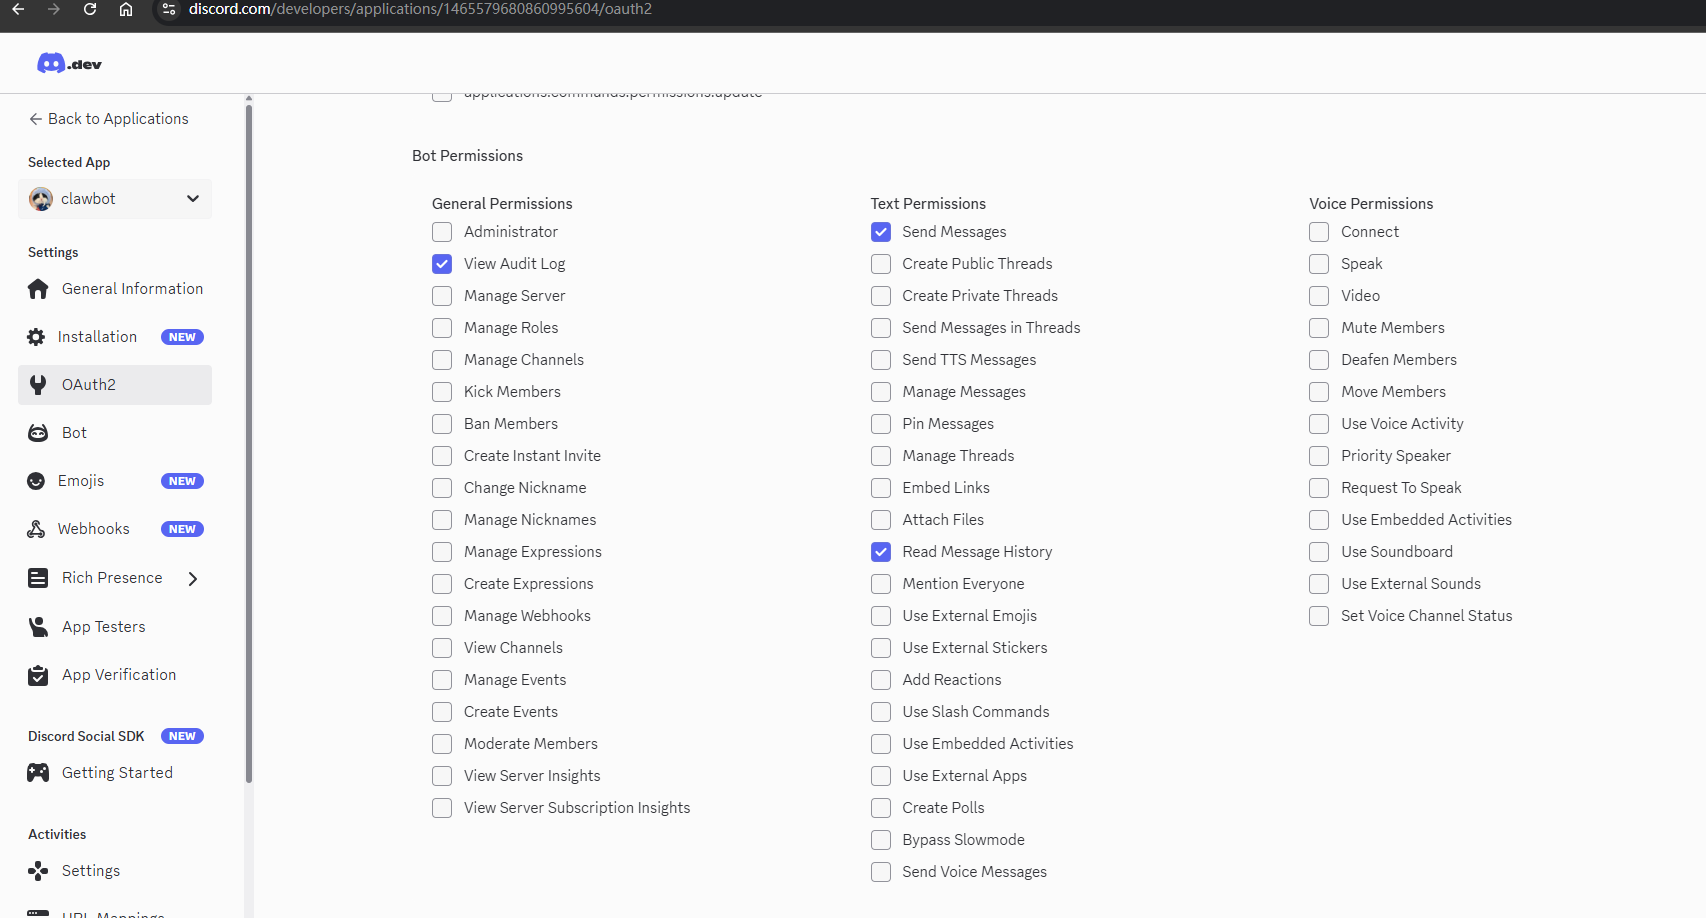
Go to OAuth2 -> URL Generator:
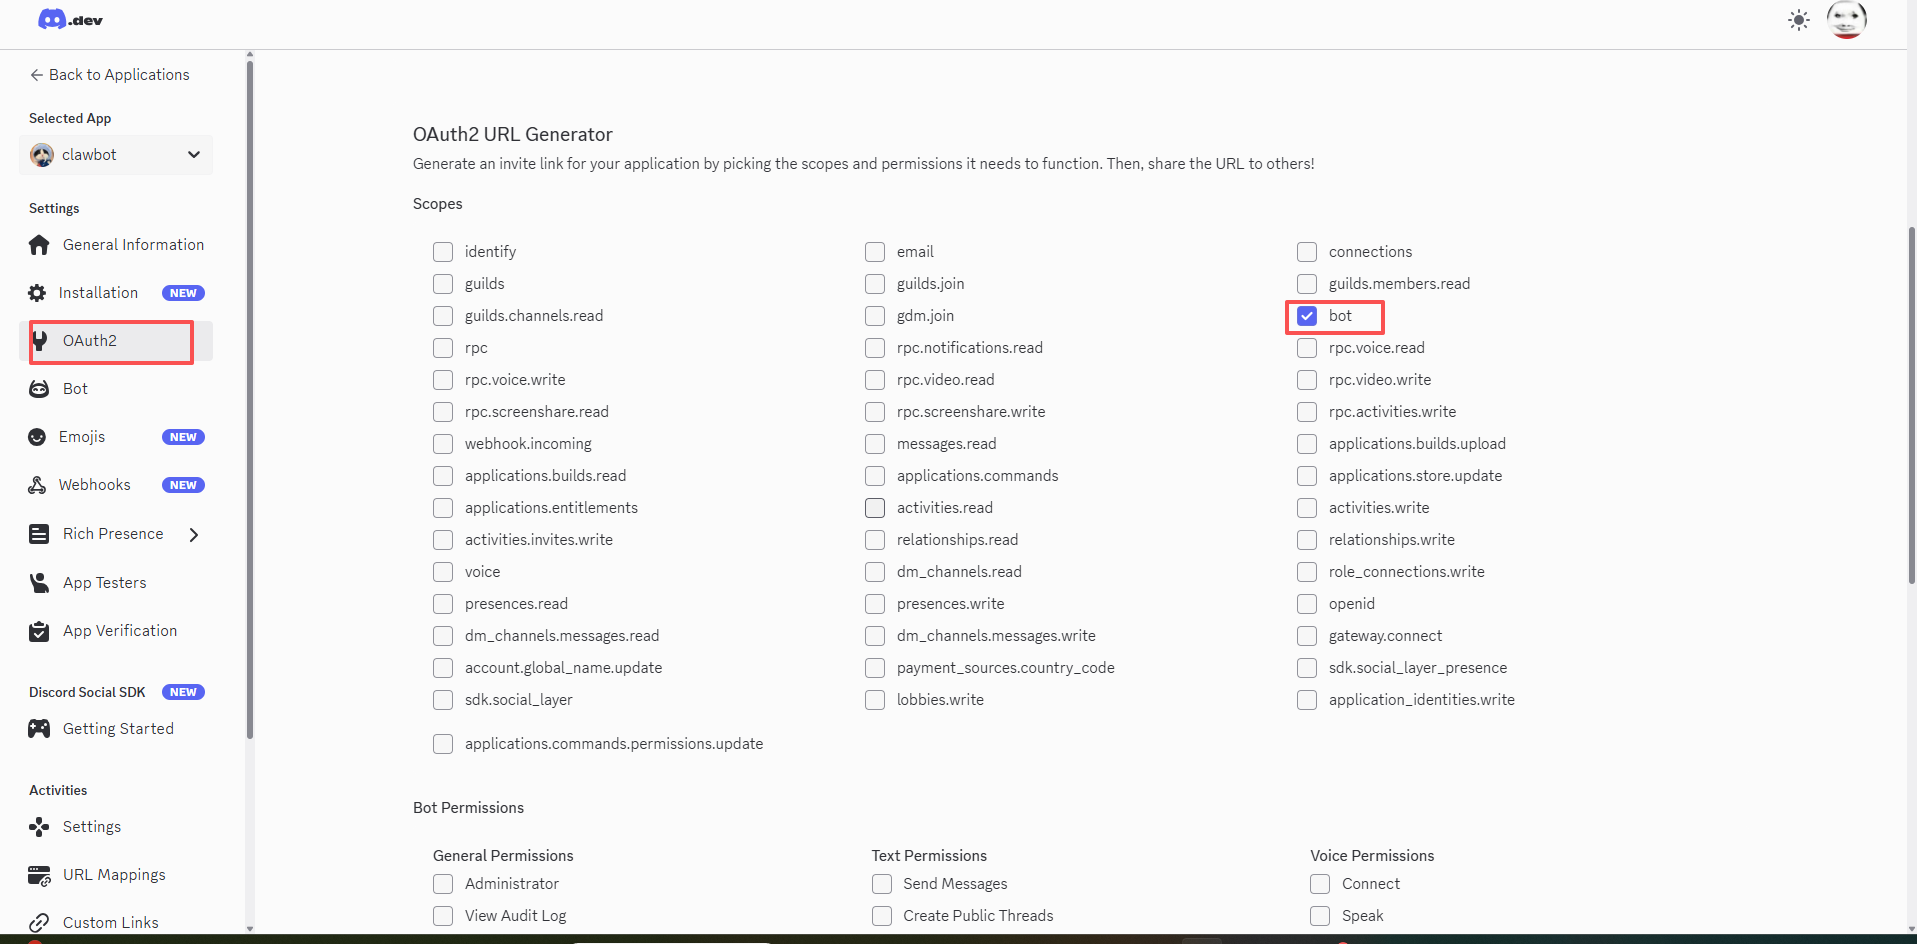
Scopes:
bot
Minimal permissions:
- View Audit Log
- Send Messages
- Read Message History
Copy the URL, open it in browser, choose server -> authorize:
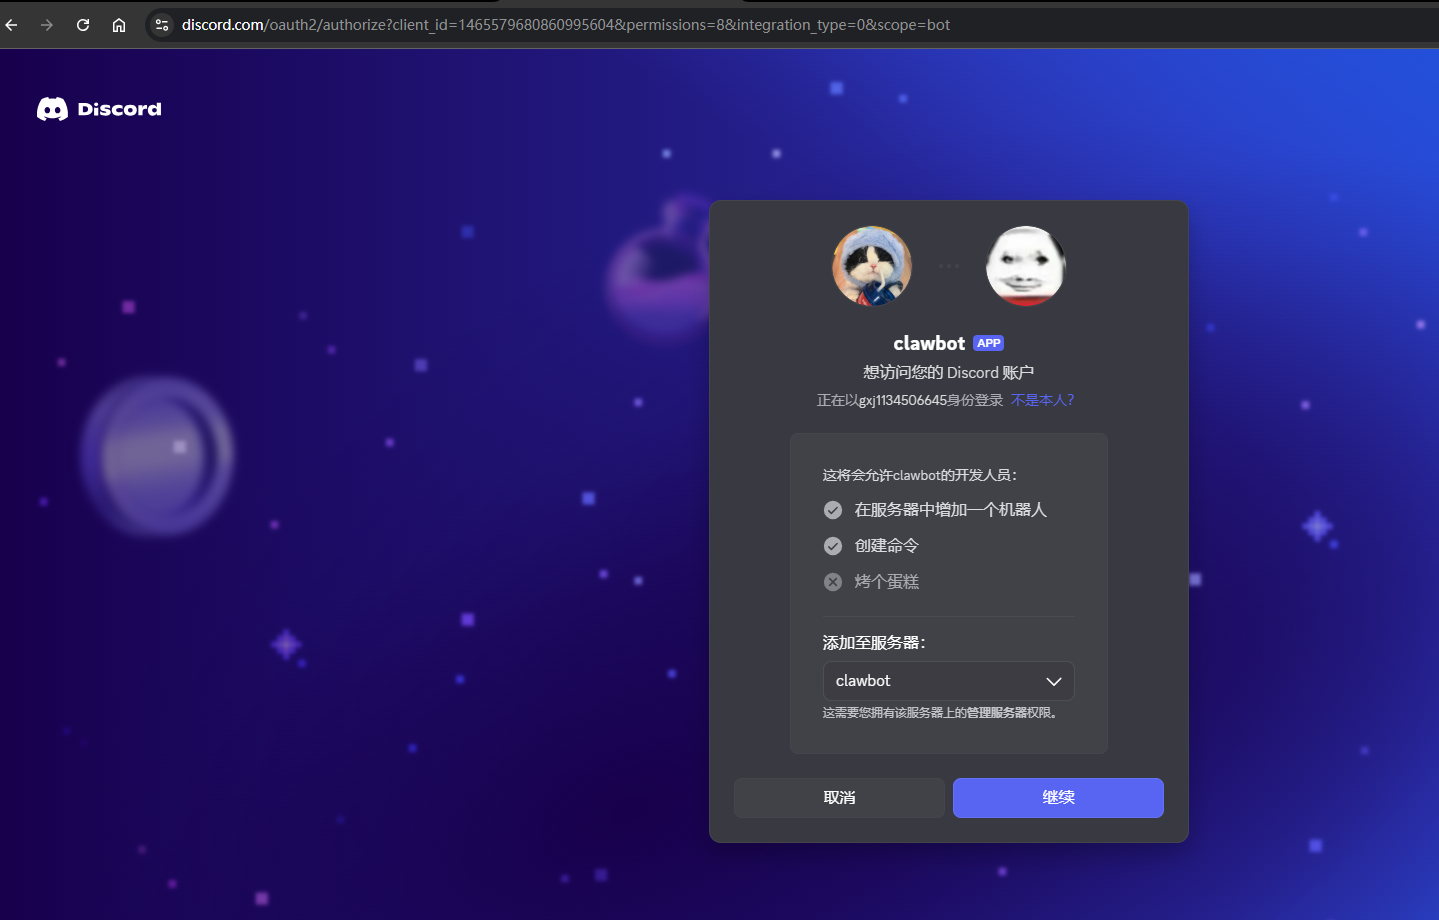
If successful, you will see the confirmation page:

Pitfall: “Bot created” in the Developer Portal does NOT mean the bot is inside your server. If it is not in the server, it will never respond.
4.9 Step 7: Create a Discord server (if needed)
If you do not have one:
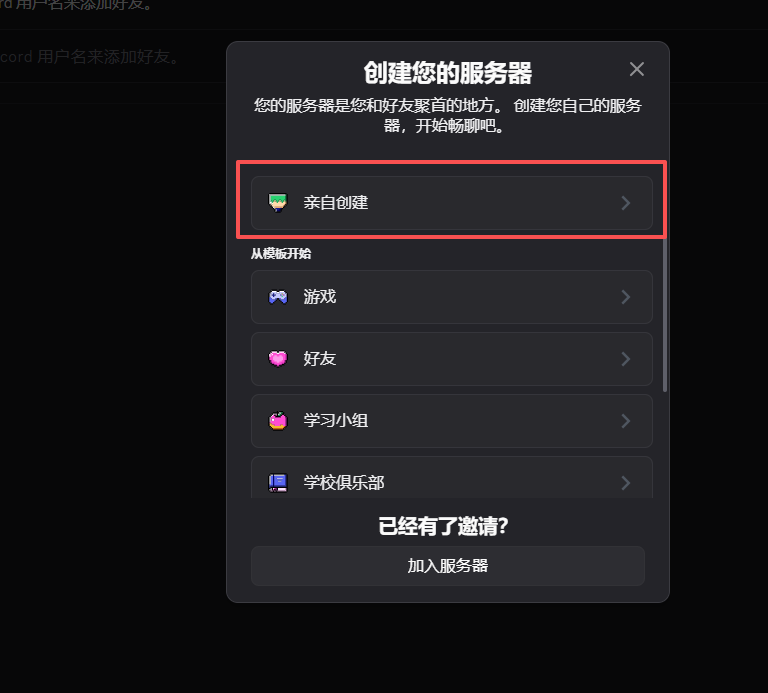
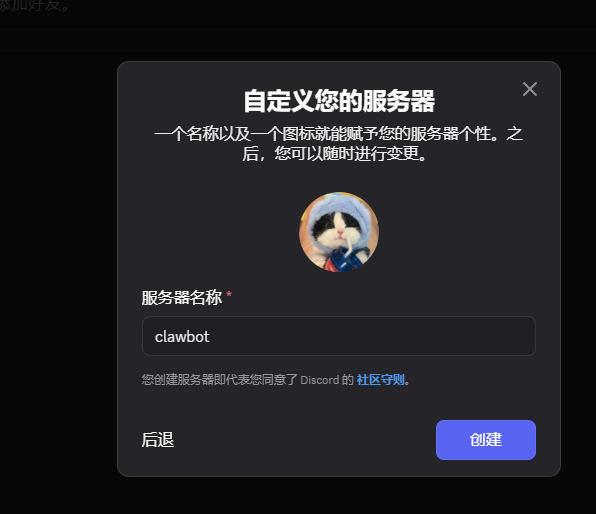
Choose “Create My Own” and name it:
4.10 Step 8: Get server ID and channel ID
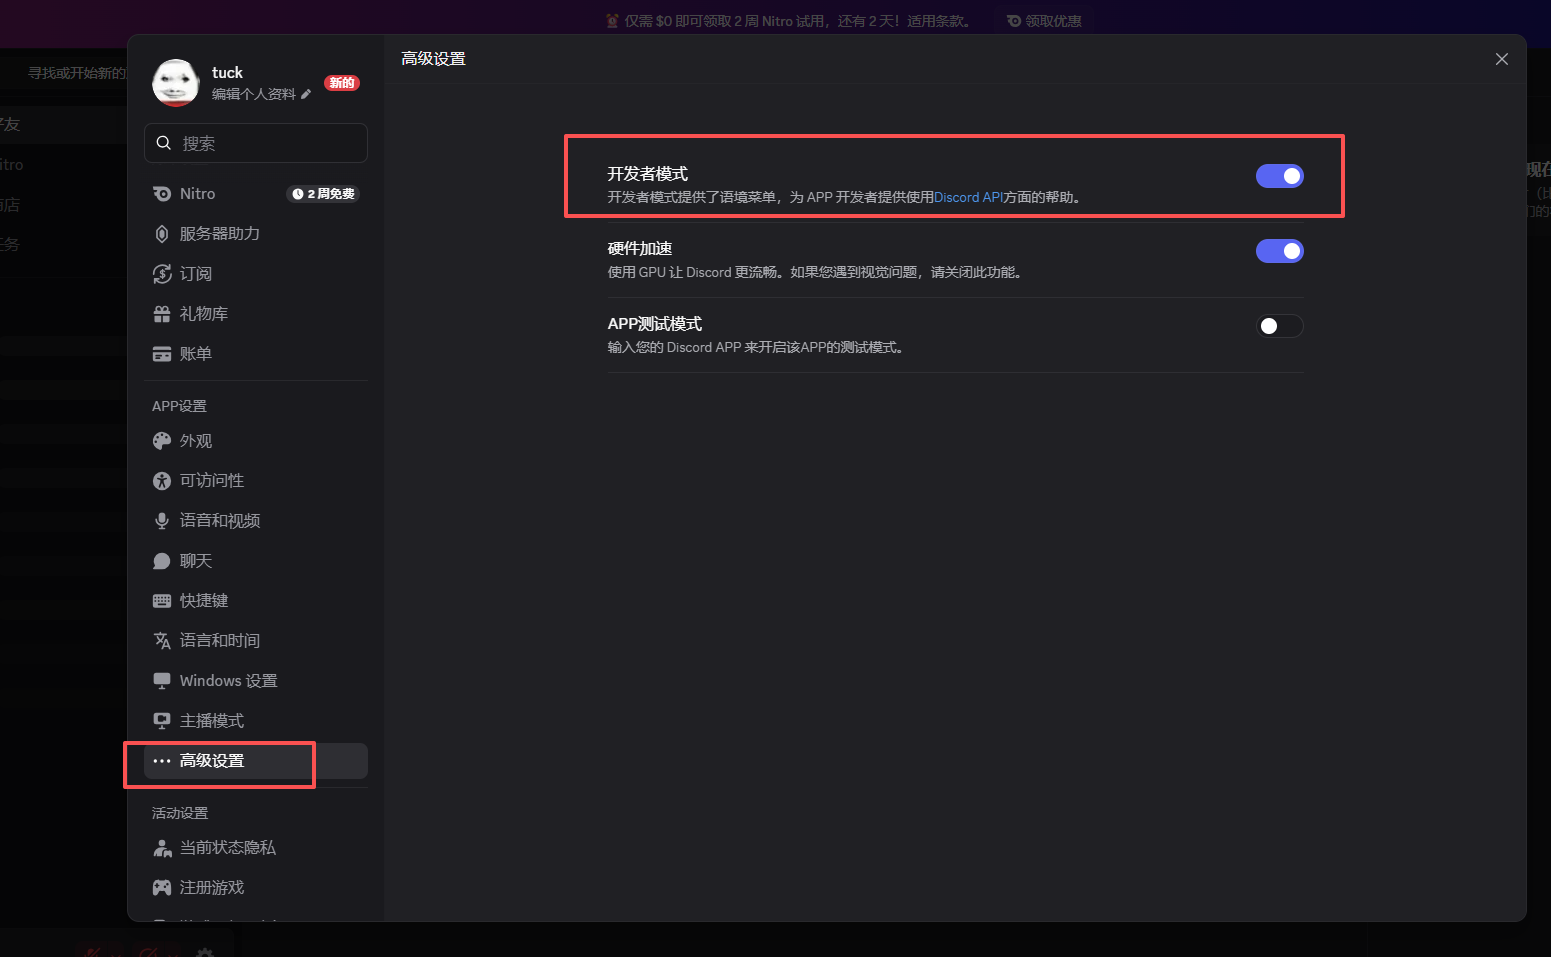
Enable Developer Mode:
User Settings -> Advanced -> Developer Mode
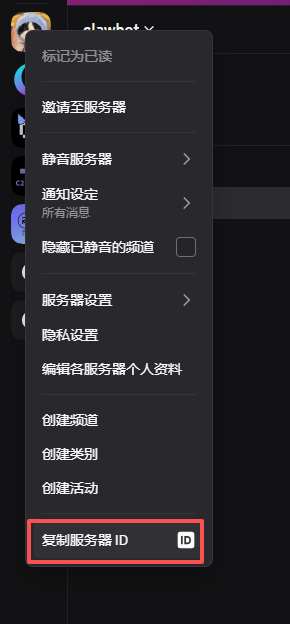
Right click server name -> Copy Server ID:
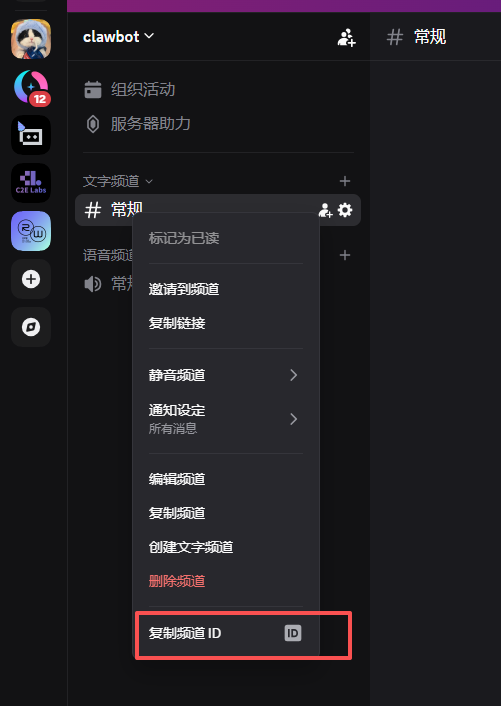
Right click channel -> Copy Channel ID:
4.11 Step 9: Configure Discord channel in Clawdbot
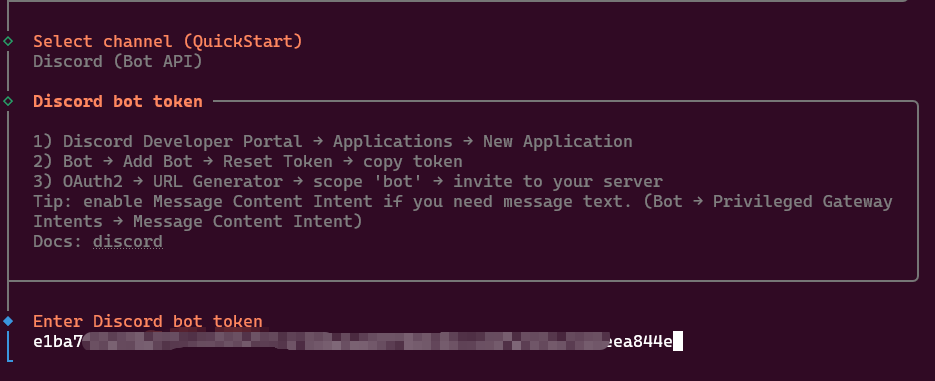
Back to Clawdbot, choose the chat channel:

Select Discord (Bot API) and enter the Bot Token:
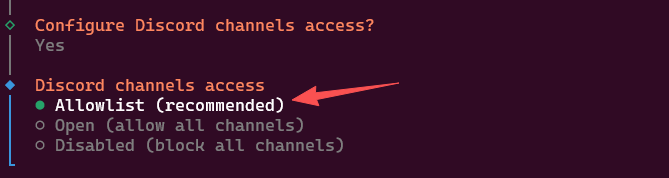
For Channel access, choose Allowlist:
Enter guildId/channelId:

Example format:

You will see status:
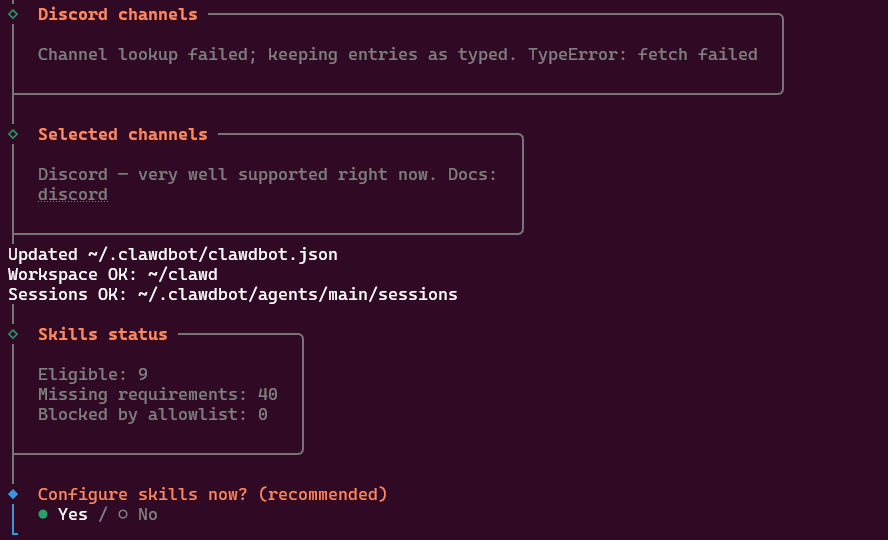
Common log: channels unresolved: 1465.../1465...
This is normal. Clawdbot has not loaded guild cache yet.
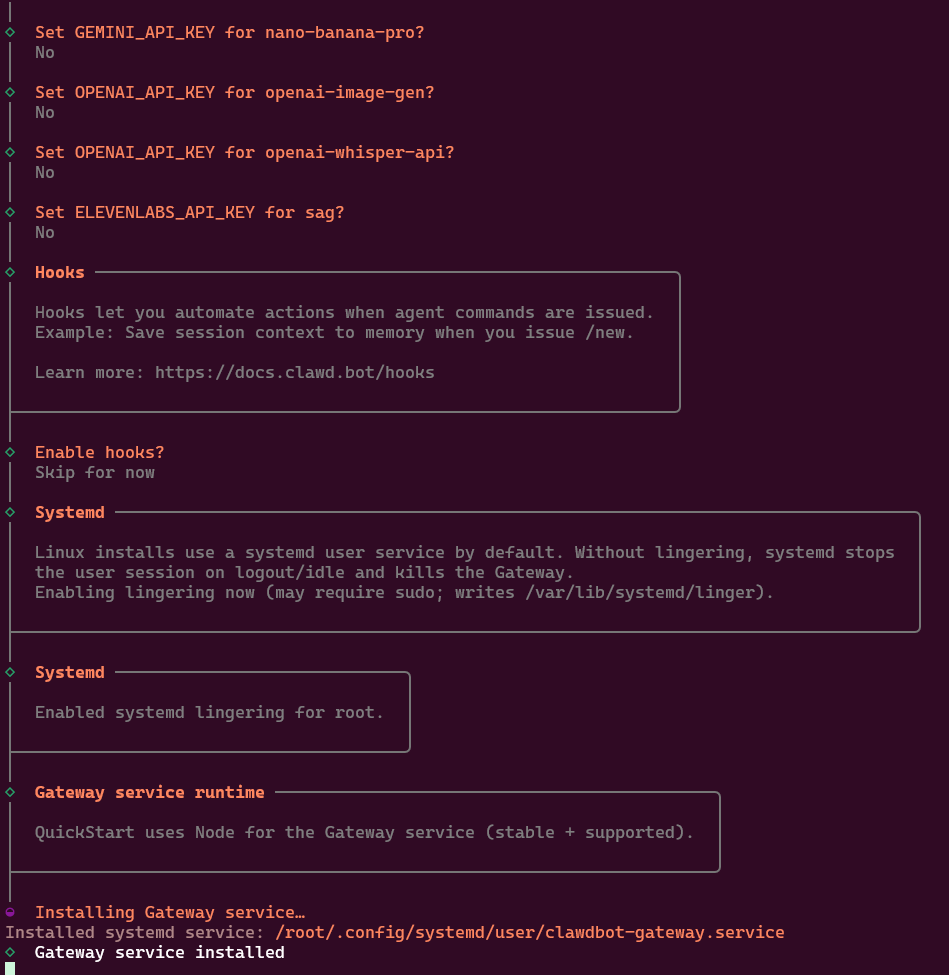
4.12 Step 10: Install Gateway service
Clawdbot installs the gateway:
4.13 Step 11: Test
In Discord:
@clawbot hello
If everything is correct, the bot replies:
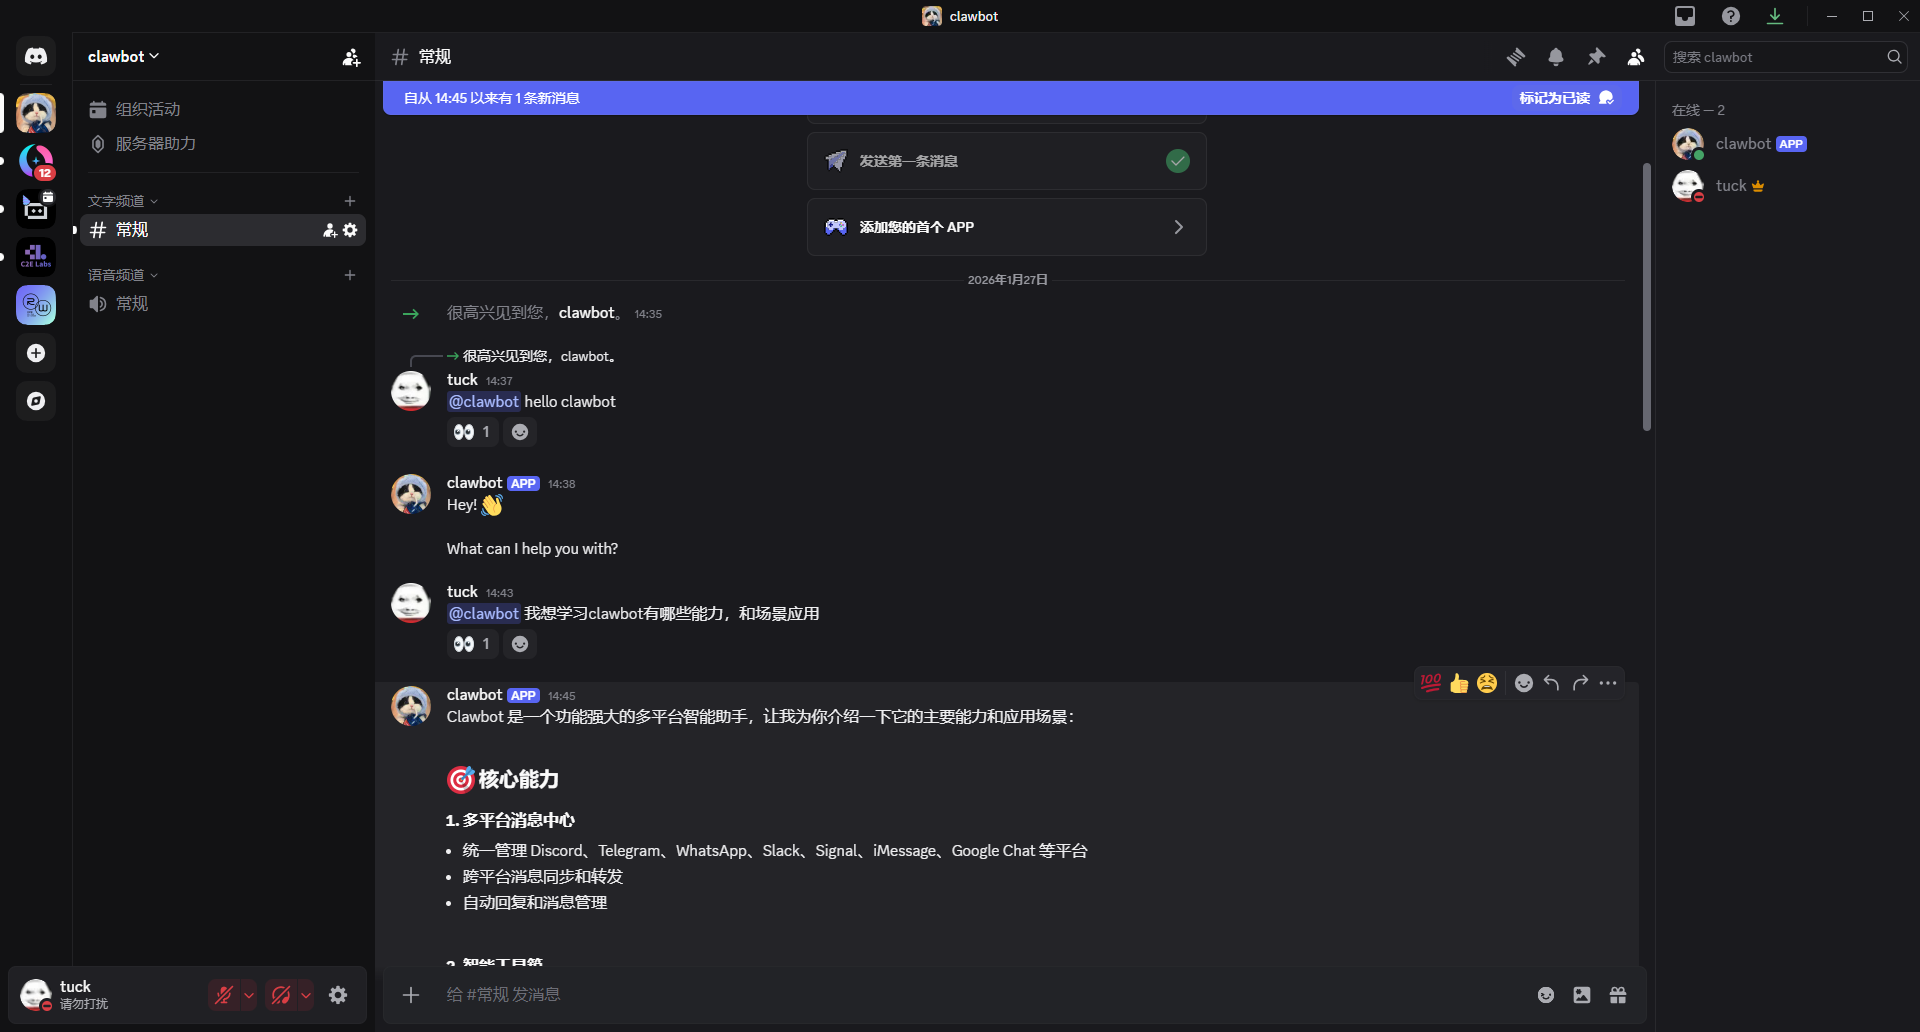
Note: just sending hello will not trigger the bot. It is mention/command driven.
5. Common errors
| Error | Cause |
|---|---|
| 4014 | Gateway Intents not enabled |
| 401 Unauthorized | wrong token / not updated after reset |
| channels unresolved | normal, not an error |
| Bot online but no reply | Message Content Intent disabled |
| Authorized but no bot in server | bot not actually invited |
6. Pitfall summary
| Pitfall | Explanation |
|---|---|
| Using Public Key as token | most common mistake |
| Bot not invited | must invite via OAuth2 URL |
| Message Content Intent off | fatal, no messages |
| ”channels unresolved” looks scary | normal |
| Wrong gateway restart order | follow the correct order |
7. Final checklist
All must be true:
- Bot visible in server member list
-
clawdbot gatewaylogs show no fatal errors -
@bot hellogets a reply - terminal logs show message events
Final note
Clawdbot represents a new direction: you do not go to AI, AI comes to you.
It lives in your chat apps, always on. For developers, it is a productivity booster. For regular users, it feels close to a real “Jarvis.”
Try it if you want a private AI assistant. Setup is a bit of work, but once it runs, you will see this is how an AI assistant should feel.
欢迎关注公众号 FishTech Notes,一块交流使用心得!