Open Ghostty from Finder Right-Click on macOS in 5 Minutes
2/20/2026
If you work in Finder and frequently need a terminal in the current folder, opening Ghostty first and then running cd every time is unnecessary friction. A Finder right-click action is faster.
Why Ghostty
Ghostty is a modern terminal emulator with:
- GPU-accelerated rendering
- macOS and Linux support
- simple configuration
- strong native experience on macOS
Install it with Homebrew if needed:
brew install --cask ghostty
Approach
Use Automator to create a Finder Quick Action that receives a folder path and runs a shell script to open Ghostty in that directory.
Step-by-step setup
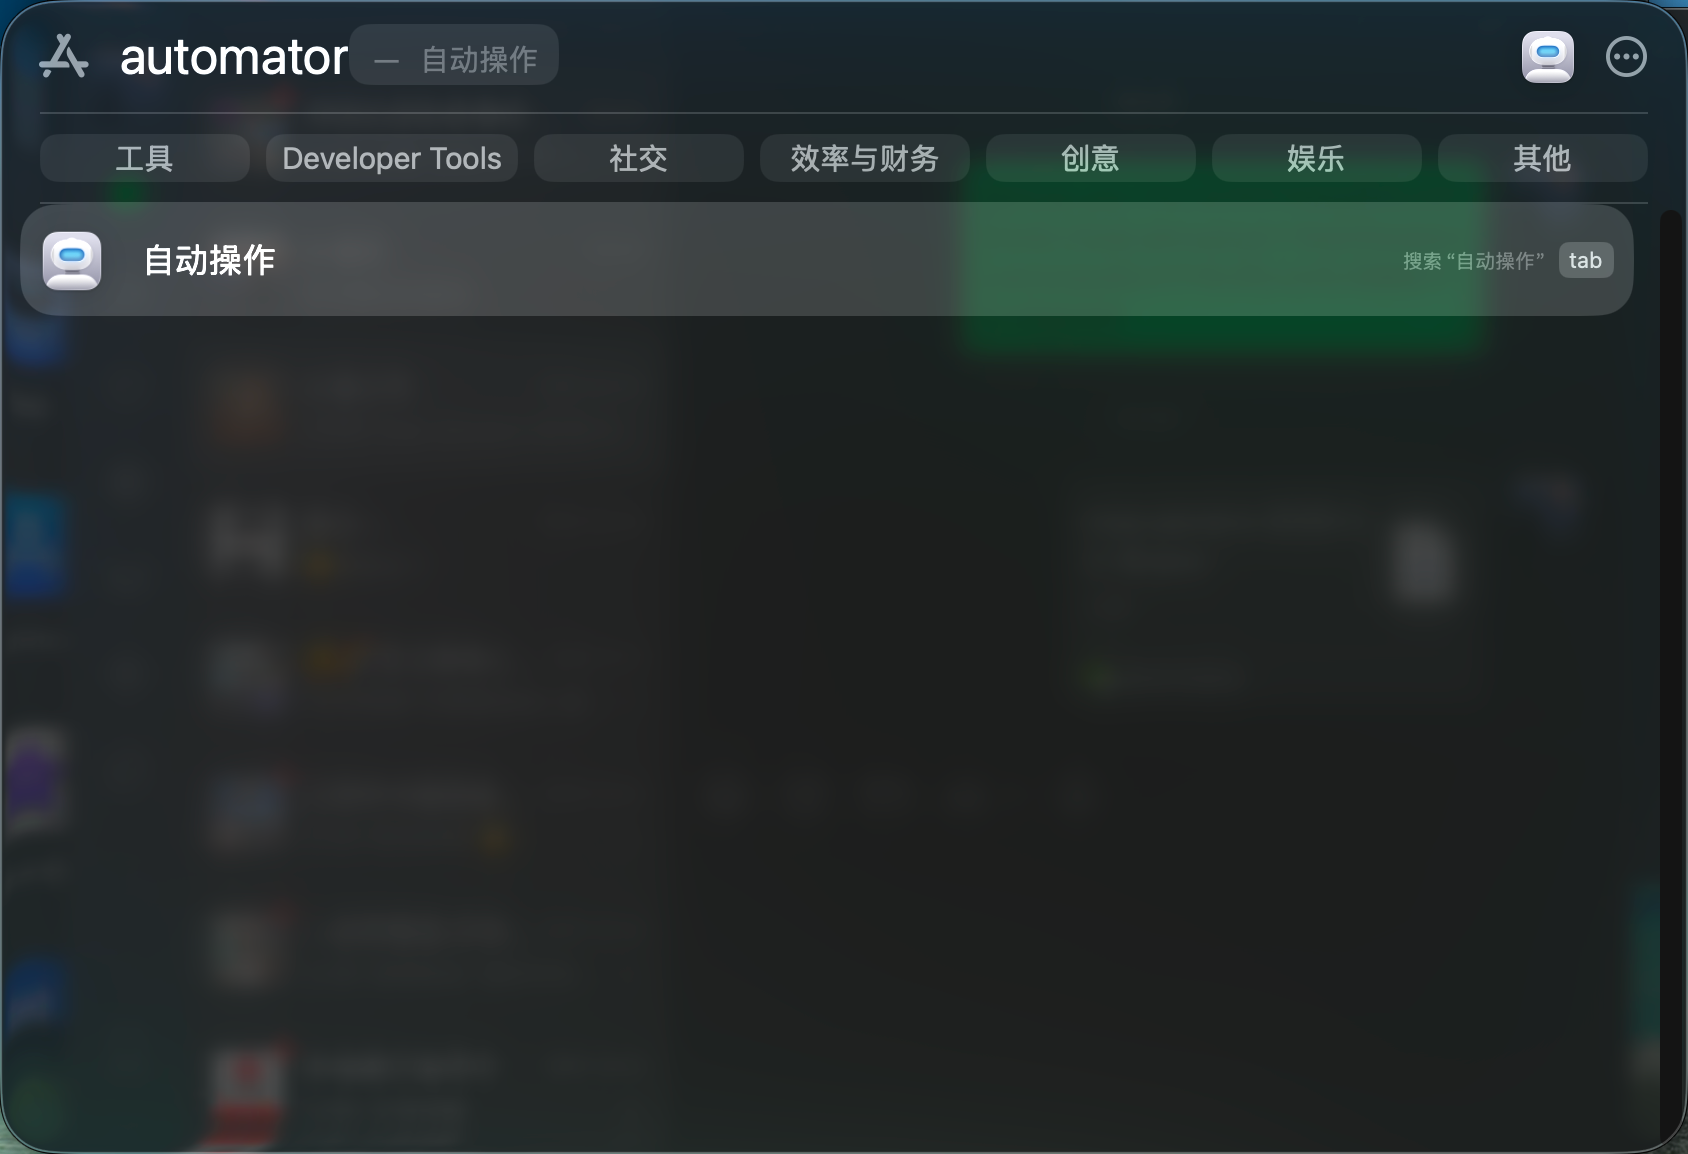
1. Create a Quick Action in Automator
- Open Automator.
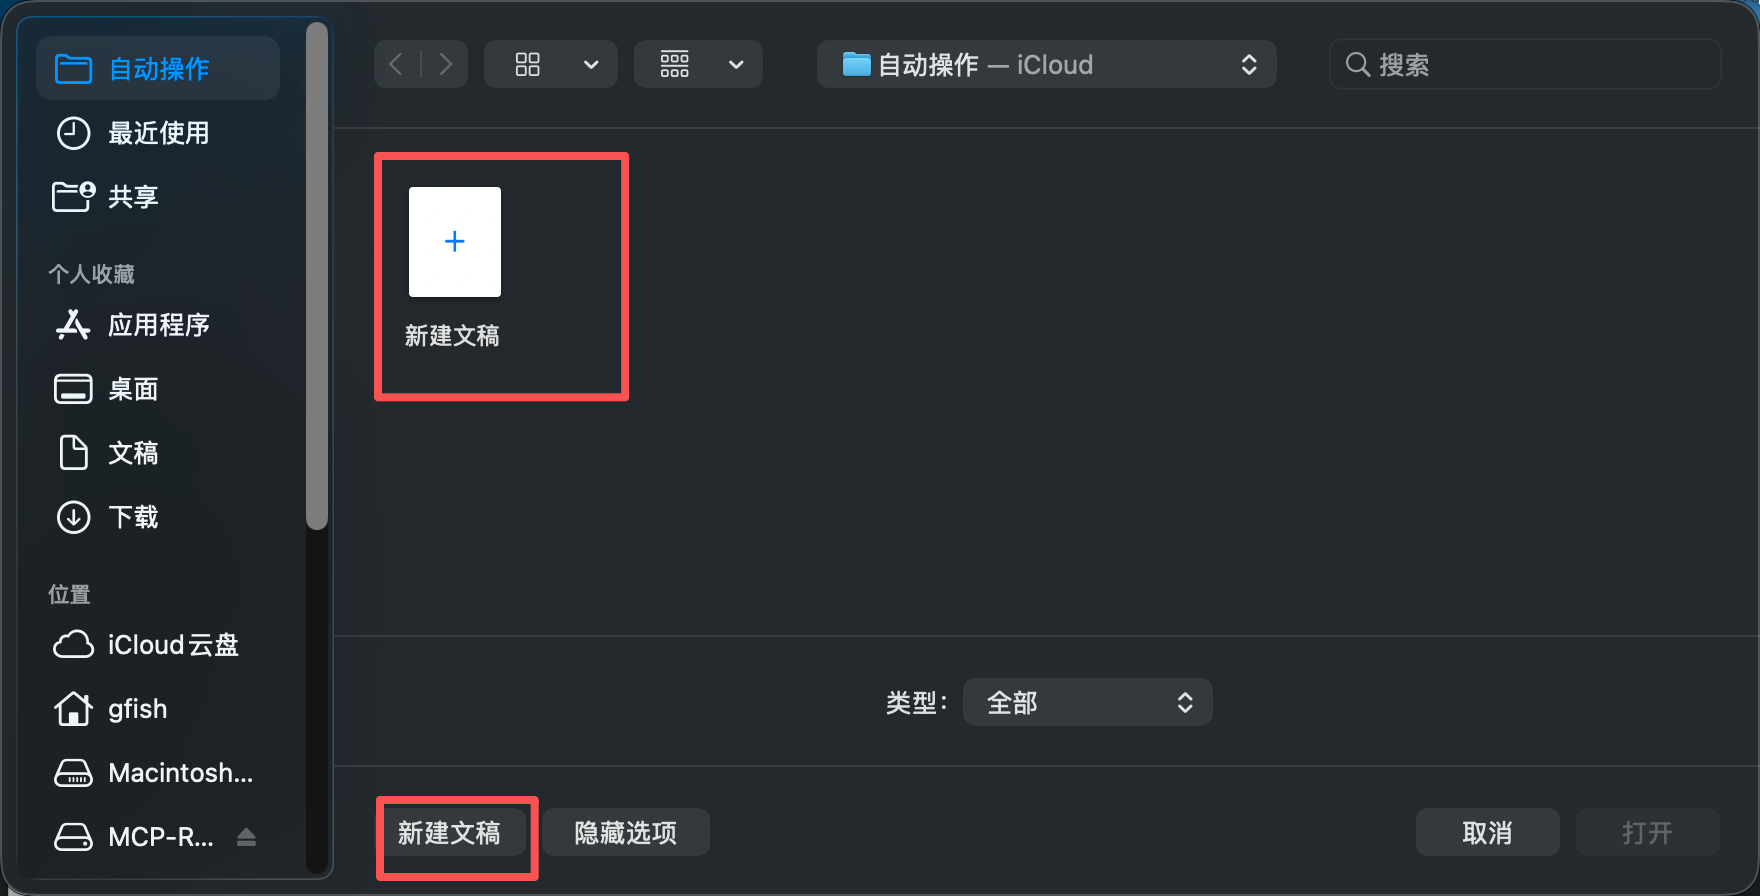
- Choose New Document.
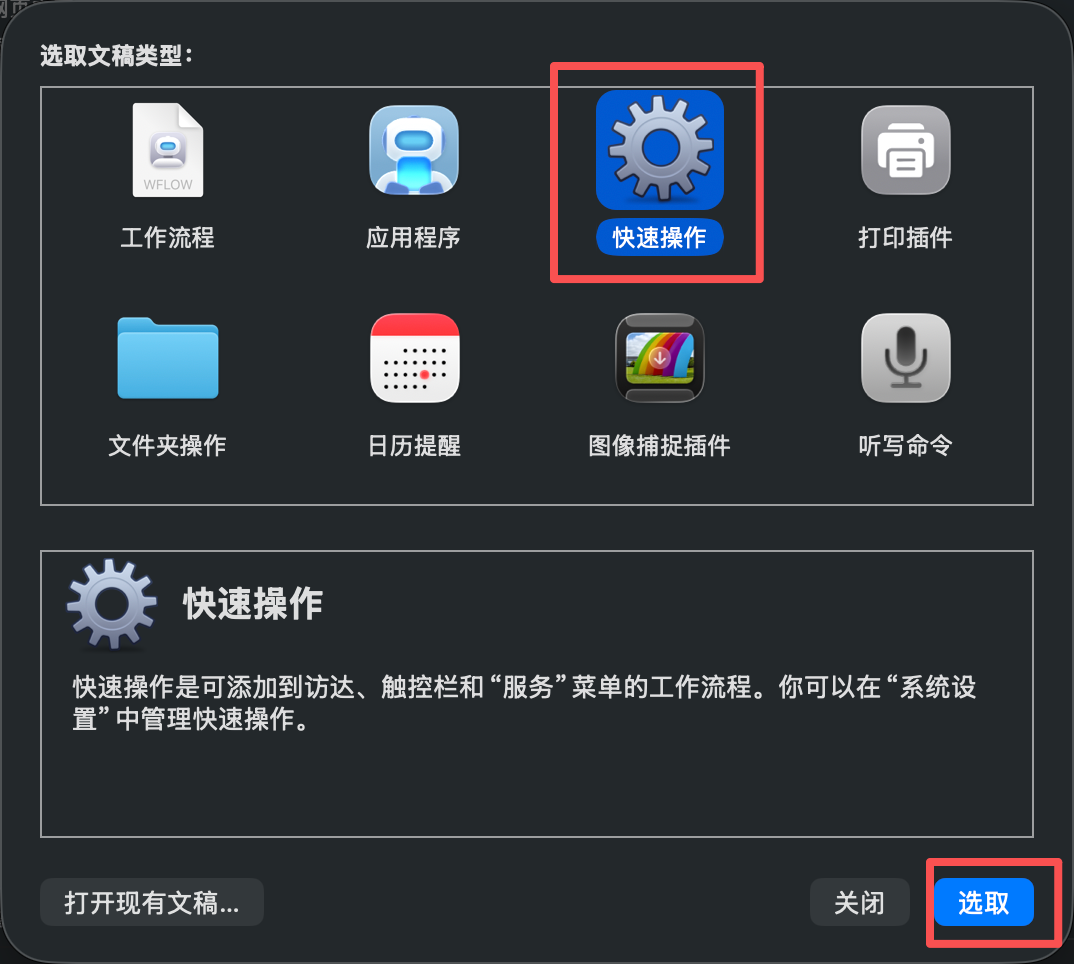
- Select Quick Action.
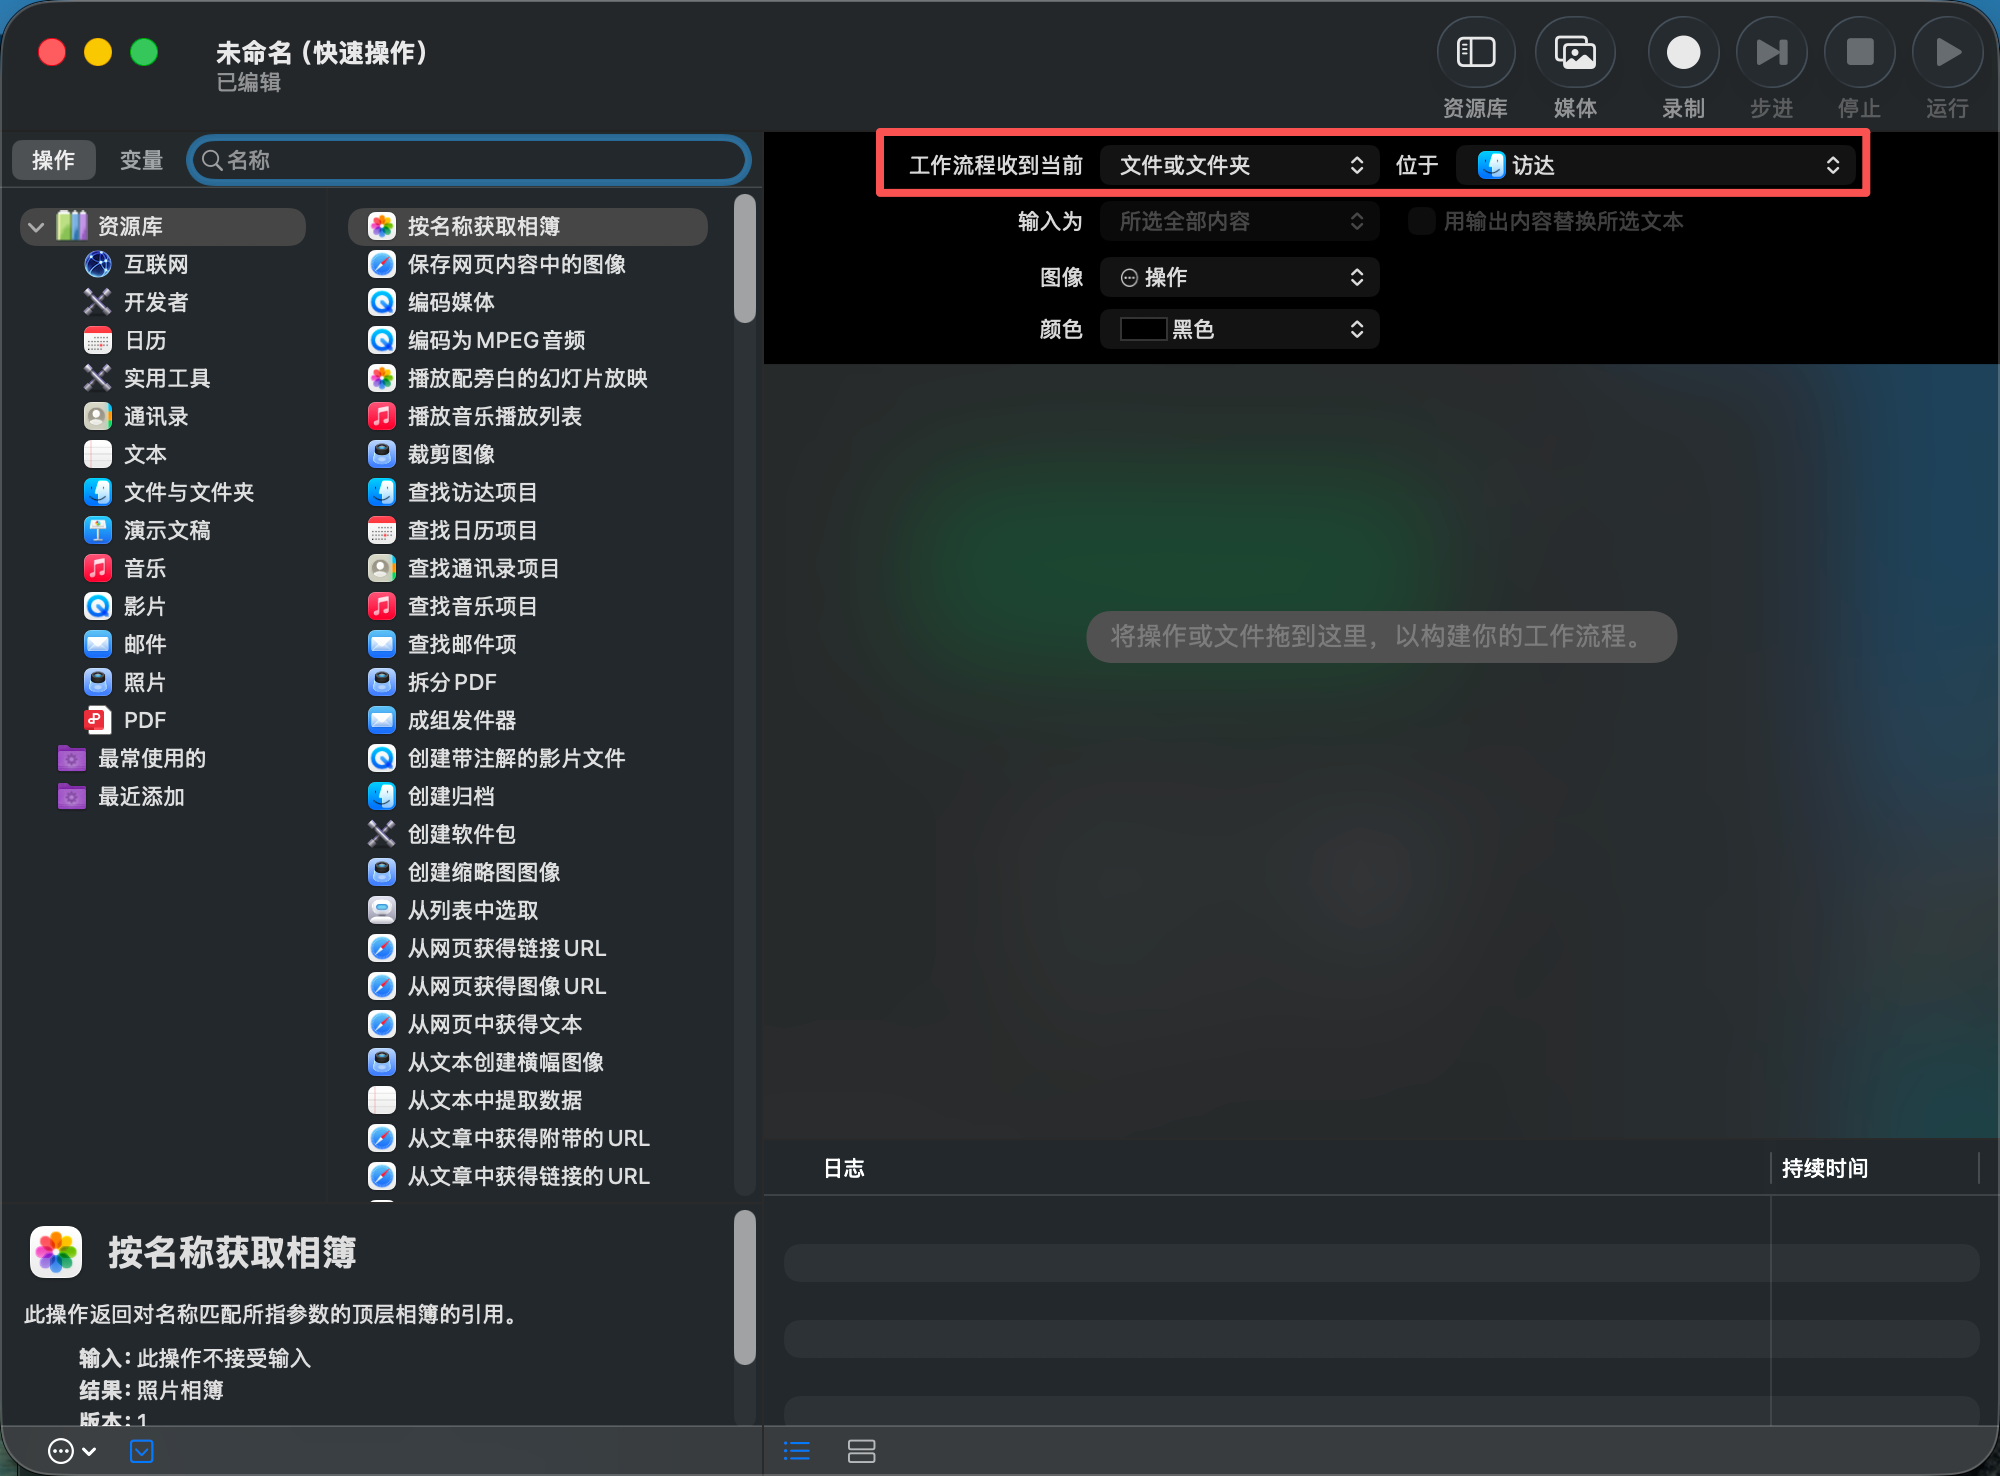
2. Configure the input source
At the top of the workflow, set:
- Workflow receives current:
files or folders - in:
Finder
This ensures the action appears in Finder context menus.
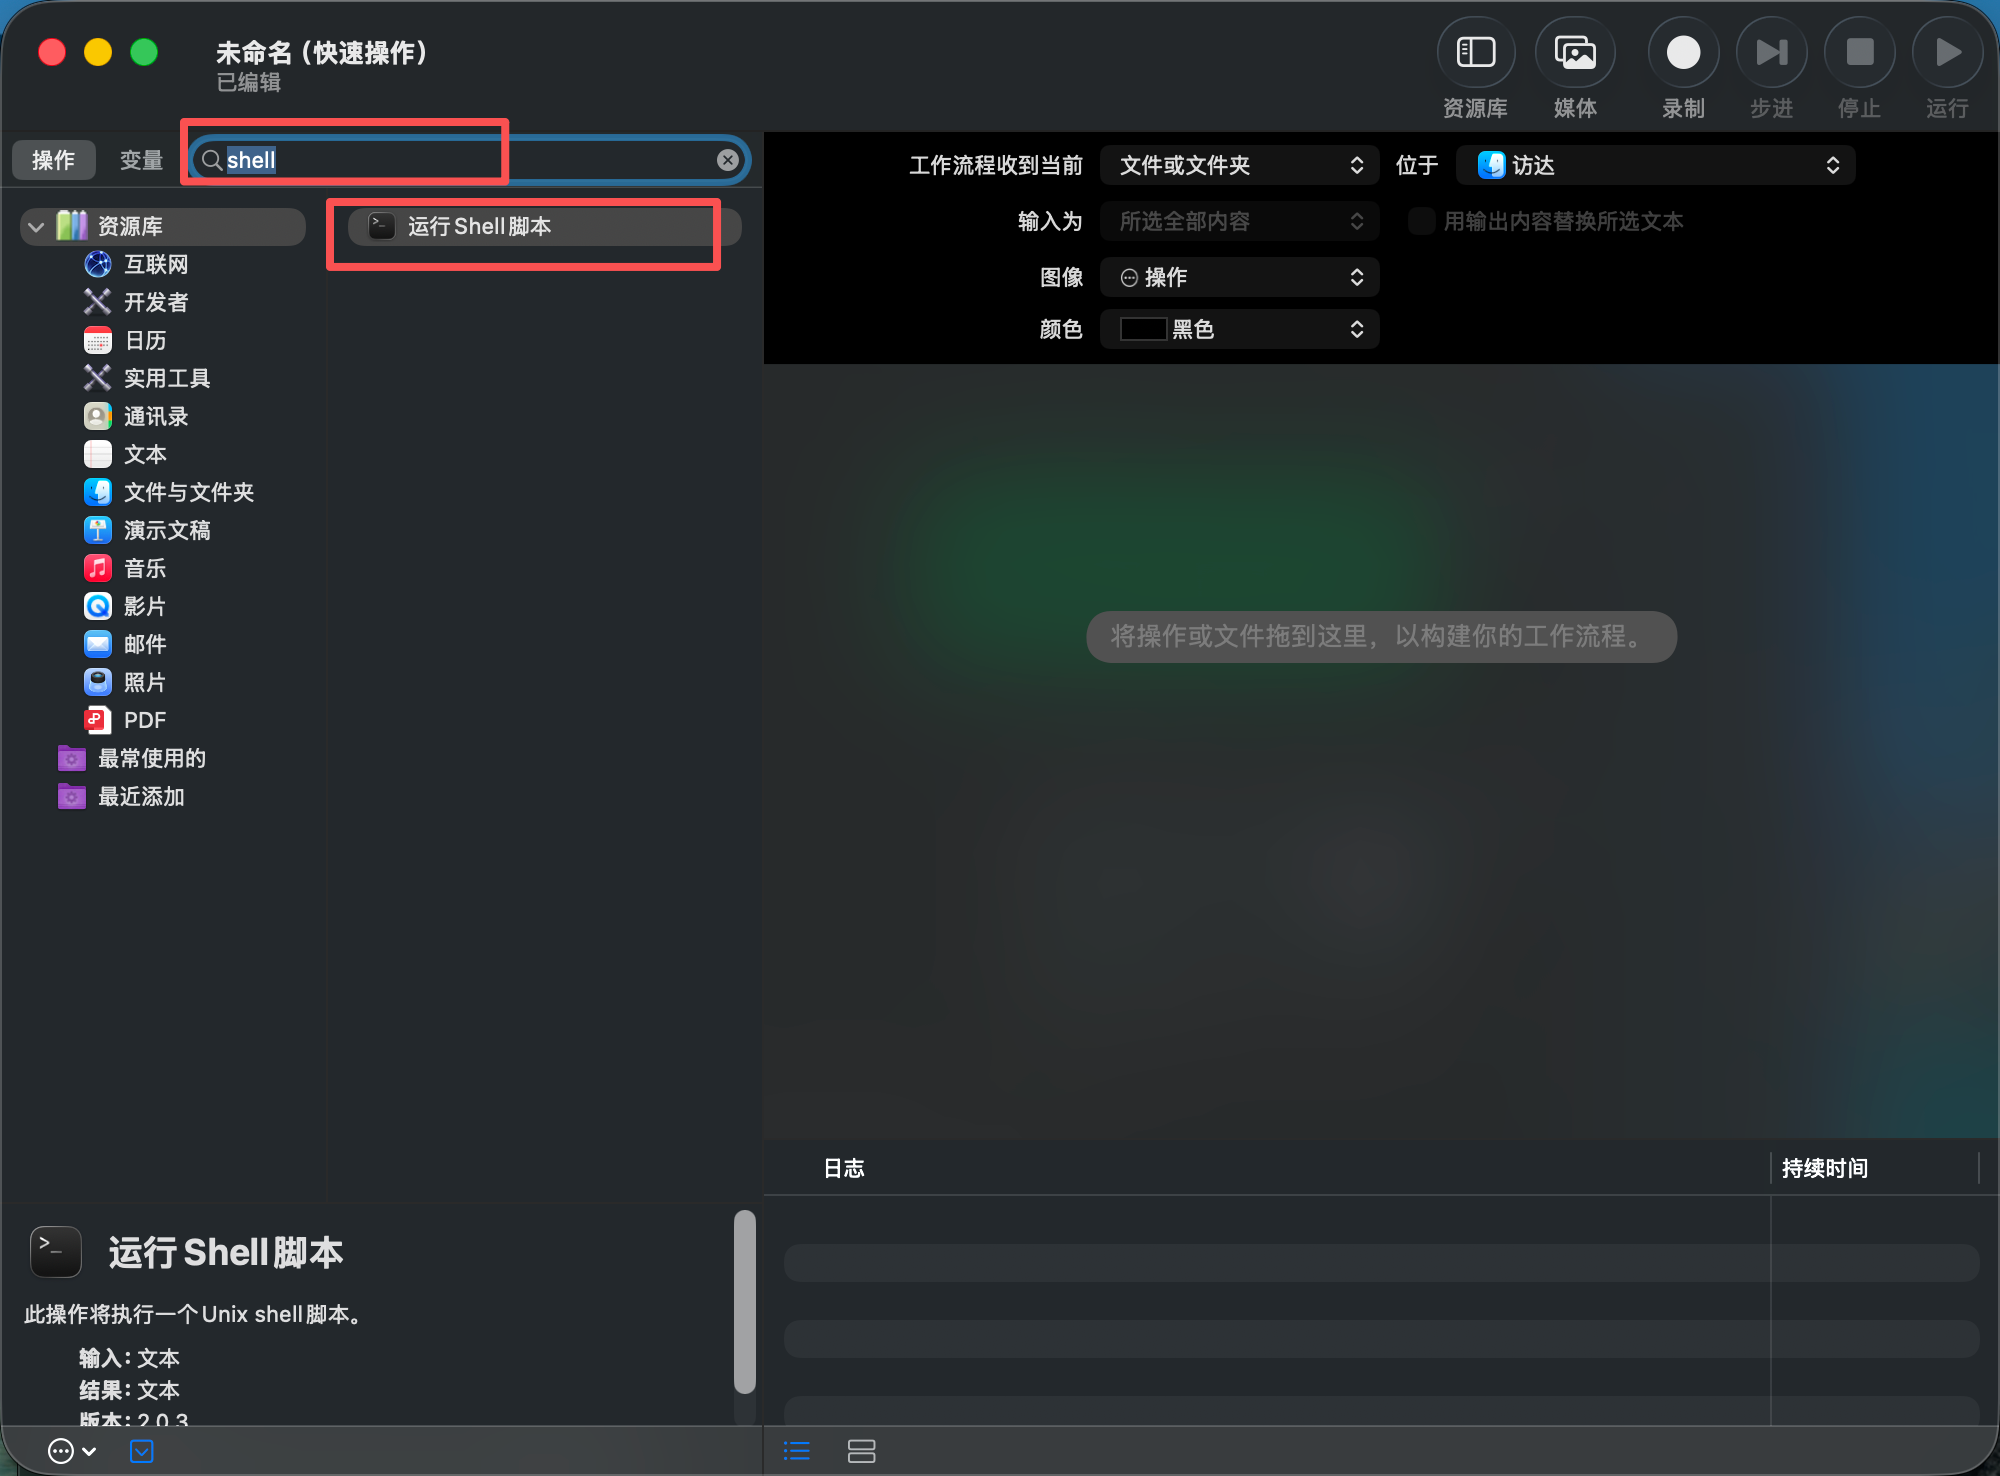
3. Add “Run Shell Script”
- Search for Run Shell Script.
- Drag it into the workflow.
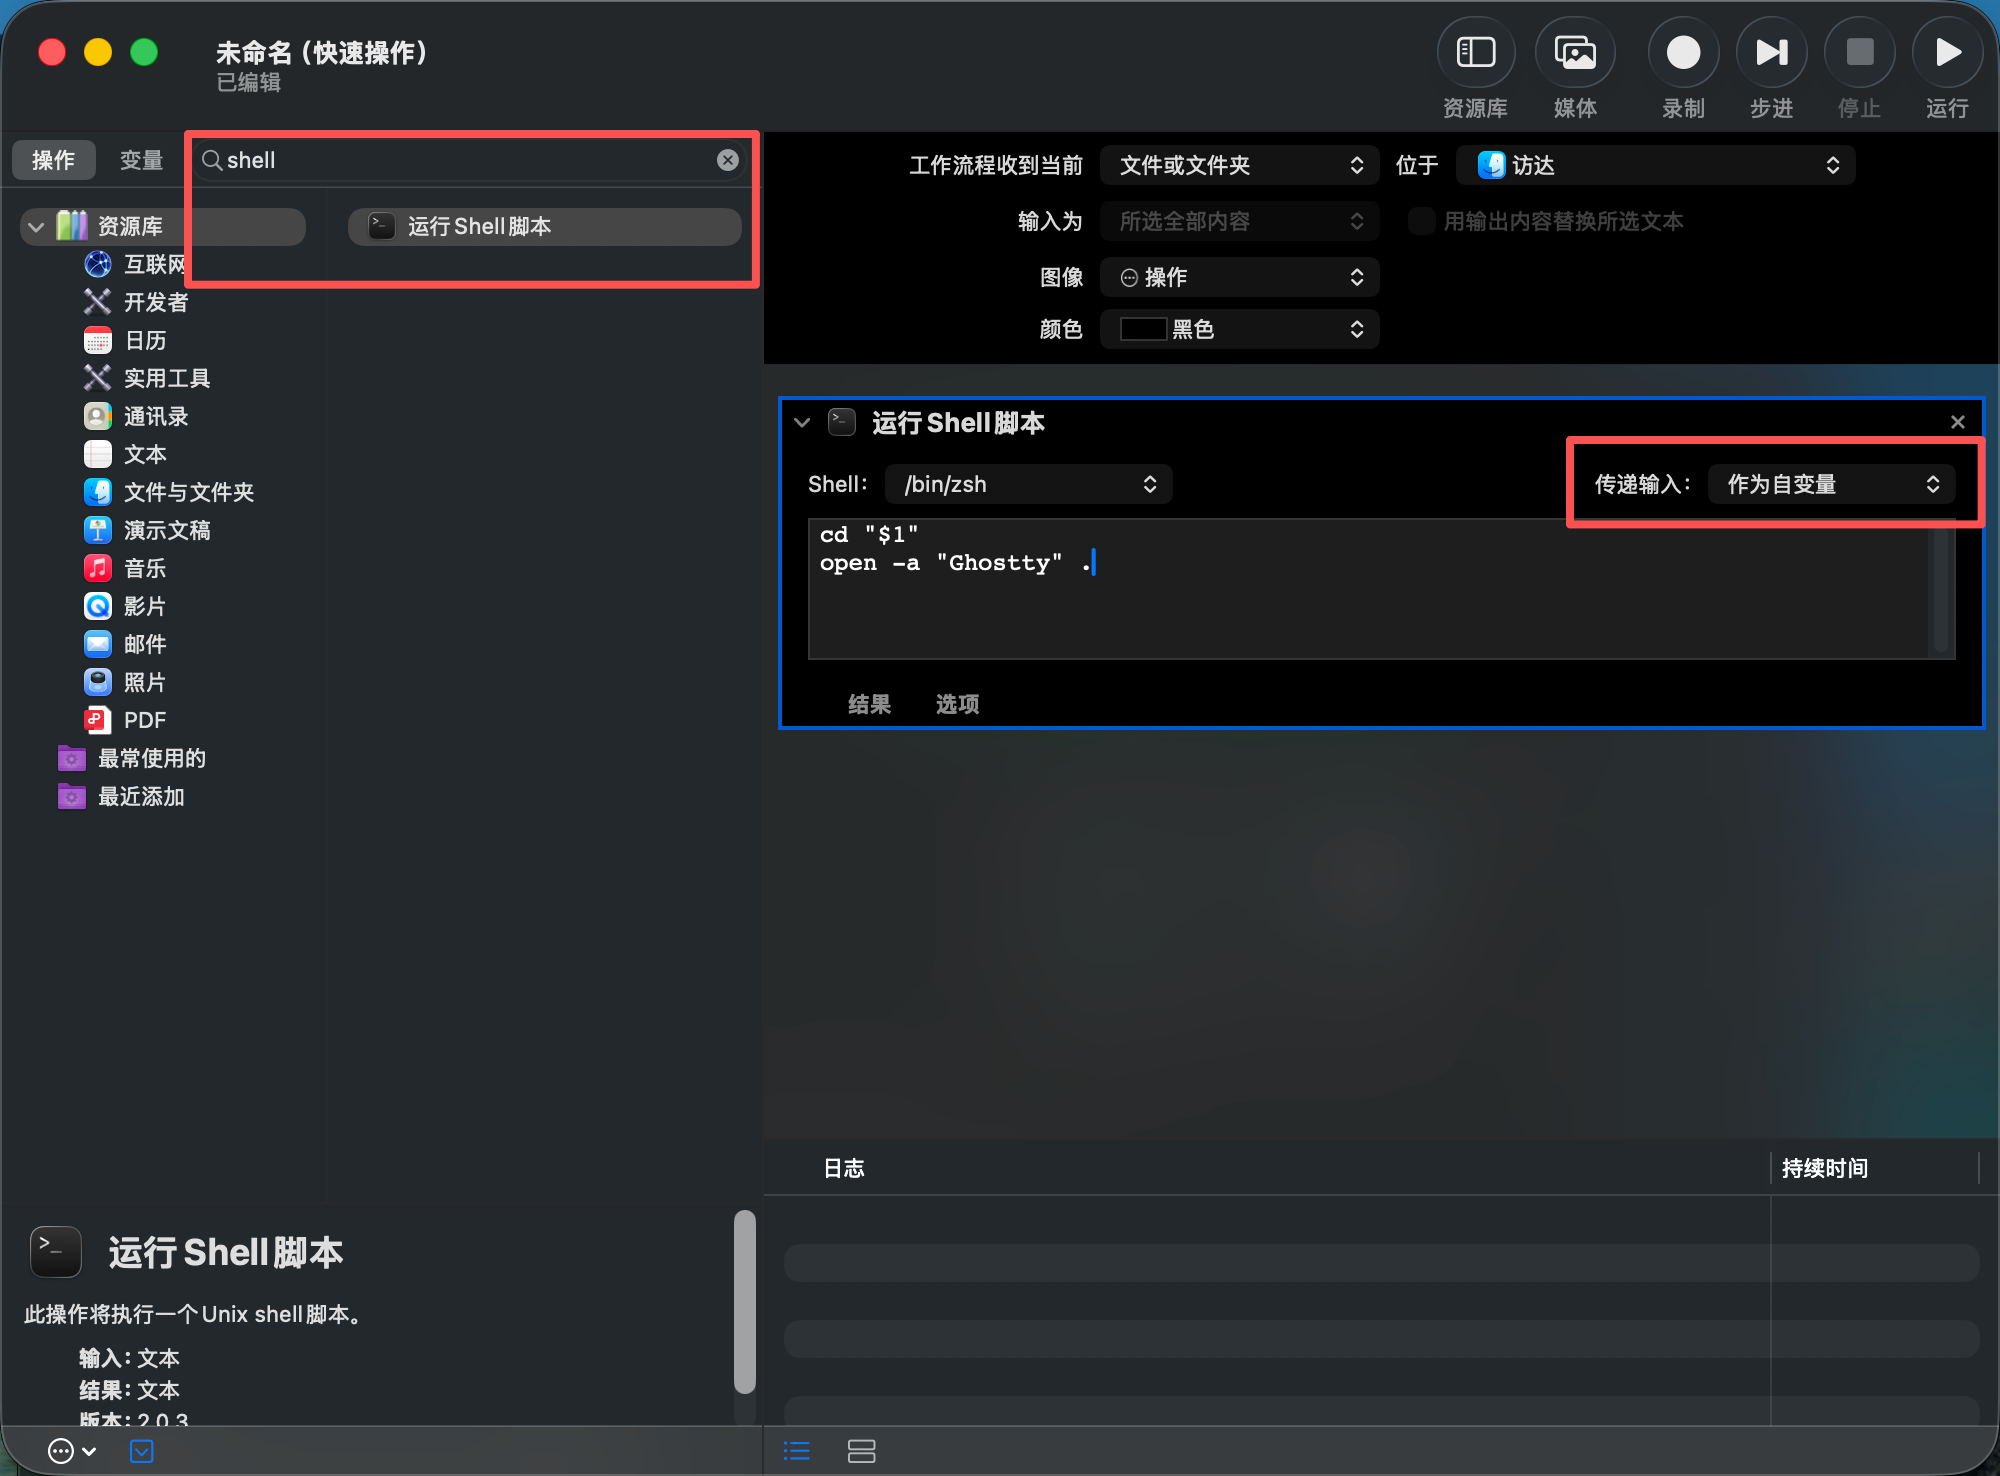
- Set:
- Shell:
/bin/zsh - Pass input:
as arguments
Important: as arguments is required so the selected path is passed to $1.
4. Use this script
Replace default content with:
cd "$1"
open -a "Ghostty" .
What it does:
cd "$1": enter the selected folderopen -a "Ghostty" .: launch Ghostty in that folder
5. Save it
Press Command + S and name it:
Open Ghostty Here
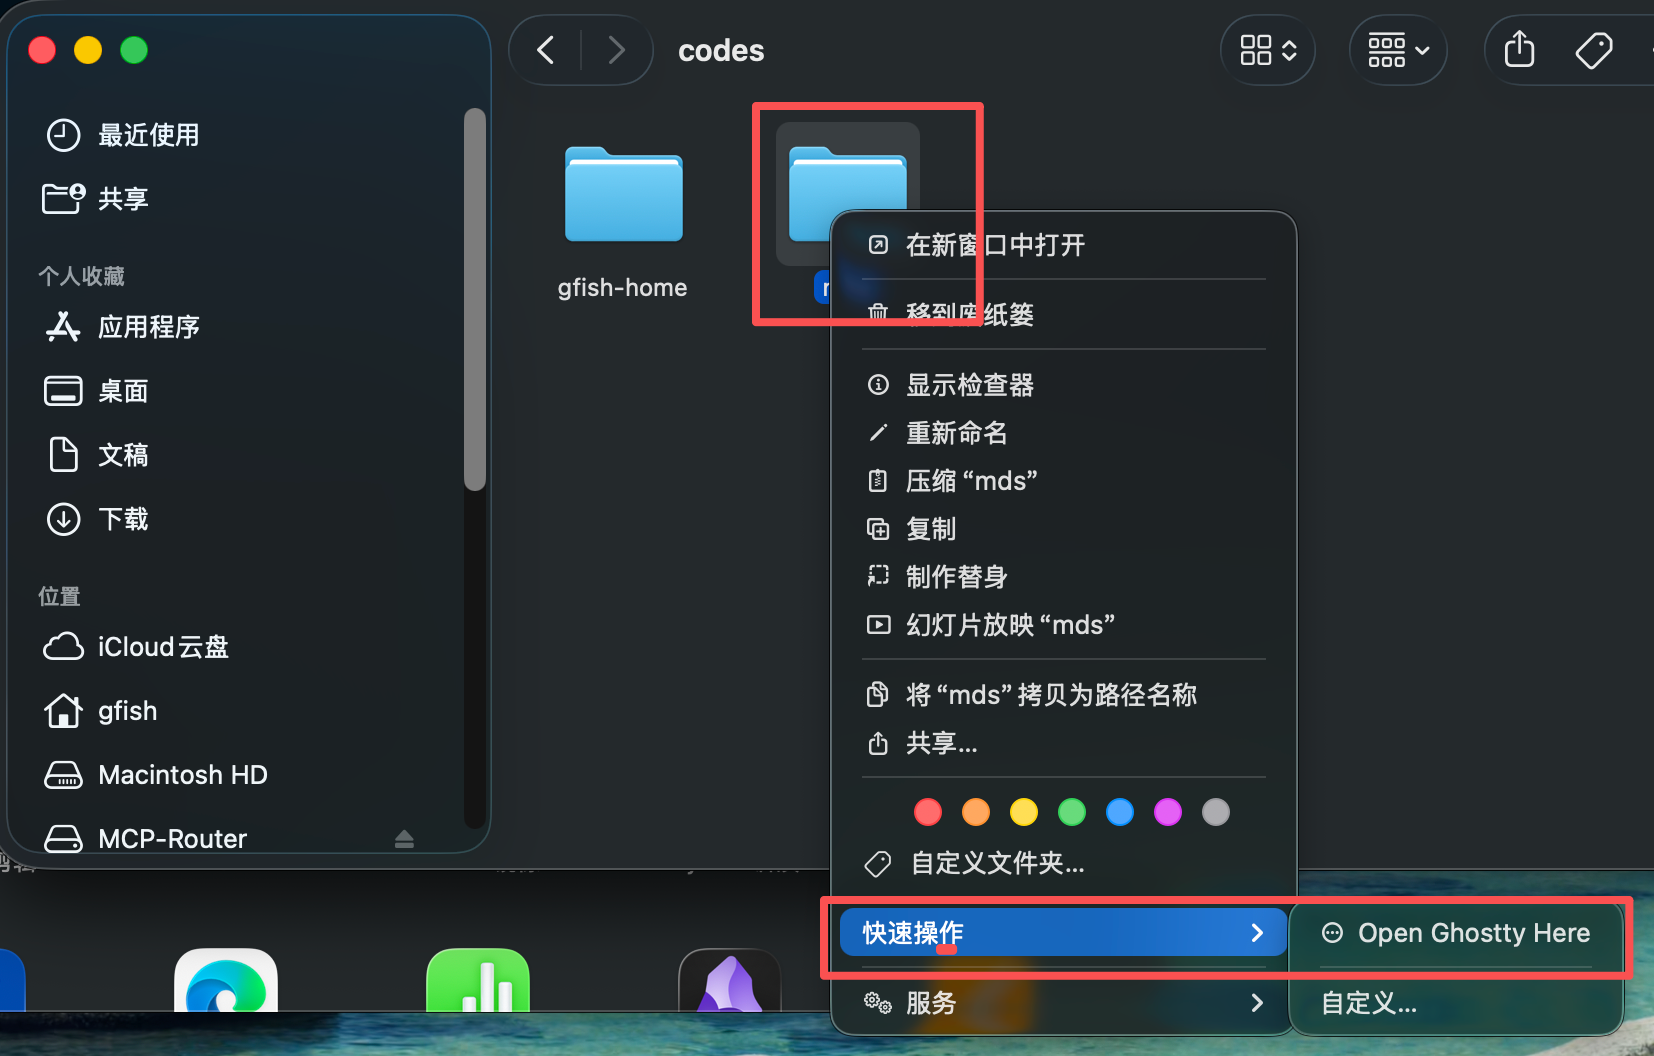
Test
In Finder, right-click any folder and choose:
Quick Actions -> Open Ghostty Here
Ghostty should open directly in that folder.
Optional improvements
Always open a new window
Use this variant:
open -na "Ghostty" "$1"
-n forces a new app instance/window.
Add a keyboard shortcut
Assign one in System Settings:
- System Settings -> Keyboard -> Keyboard Shortcuts
- Open Services
- Find
Open Ghostty Here - Bind a shortcut (for example
Ctrl + Option + G)
Summary
This is a lightweight system-level workflow: no third-party extension, just Automator plus a tiny shell script. Set it once and you remove repeated directory-switching overhead from daily work.